Steps to remove SQL Server 2016 Instance
Here I am putting down a simple method of removing SQL Server 2016 named or default instance. I am assuming here that there are no user databases on this instance. I stopped all SQL Server services before I started this uninstall process.
- To begin the uninstall process, go to Control Panel and then Programs and Features.
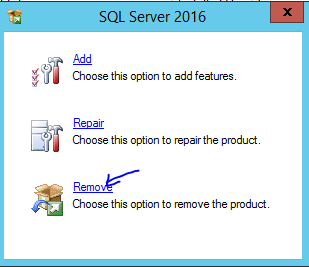
- Select Microsoft SQL Server 2016 and select Uninstall. Then click Remove. This starts the Remove SQL Server 2016 Wizard.

- Setup Support Rules runs to verify your computer configuration. Since there is only one instance of SQL server 2016 on this machine, wizard selects it for you. Otherwise, you can use the drop-down menu to select your instance for removal. To continue, click Next.

4. After hitting NEXT, you will get Ready to Remove dialog box showing the summary of Engine and features that are going to be removed. Click Remove. The removal process will begin and it may take several minutes depending on your installation.

- If everything goes smoothly, you will receive a success message. You can go to the hyperlinked text file to see the report of the whole process of removal. Click Close to complete the removal of SQL Server 2016 instance.

In the end, you can refer to this TechNet document for more detailed instructions. https://technet.microsoft.com/en-us/windows/ms143412(v=sql.90)
